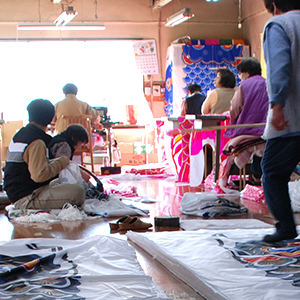
鯉制作風景
MAKING
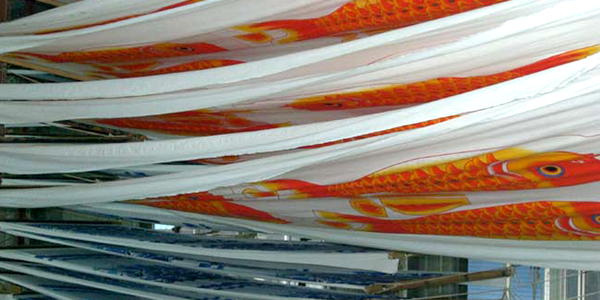
山本敬二商店では、古くからの播州鯉のぼりの流れをくみ、戦後から鯉のぼりを作り続けています。
長きに渡り培われてきた技術をもつ職人の手によって生み出された鯉は、一つ一つが高級感のある仕上がり
となっています。空に泳がせれば、鯉の美しくたくましい勇姿から職人の技を感じていただけます。
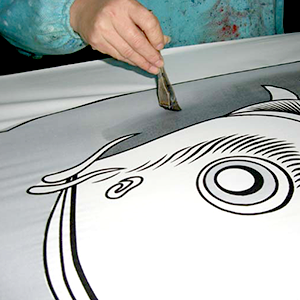
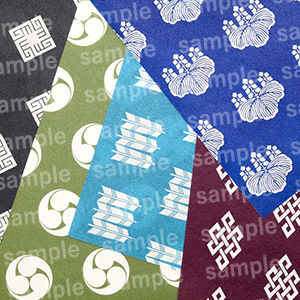
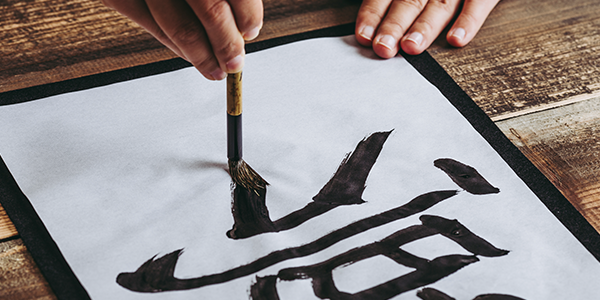
1. 染め上がり
布を染めて鯉を表現します。染め上がった布は染めムラなどがないかチェックします
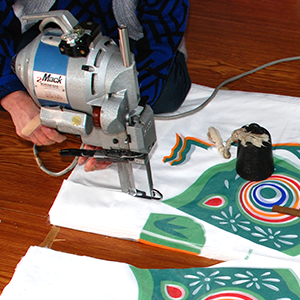
2. 裁断
裁断機械を使って染め上がった生地を鯉の形に裁断していきます。
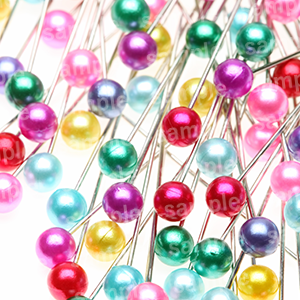
3. 待ち針打ち
裁断した布を合わせ、縫う前の下準備として待ち針を打っていきます。
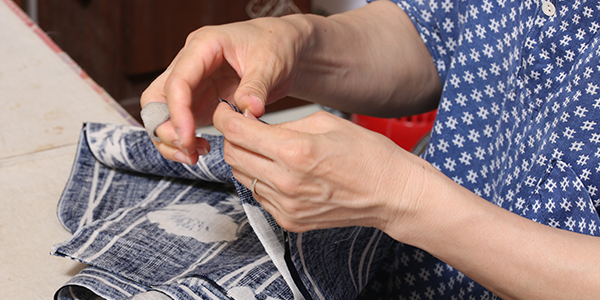
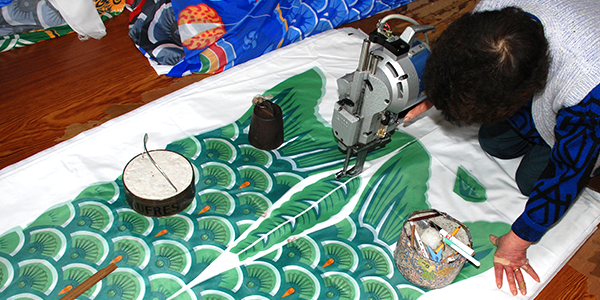
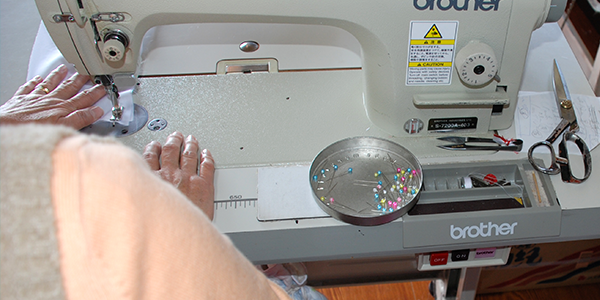
4. 縫製
工業用ミシンを使って縫製していきます。基本的には職人さんの感覚で正確に仕上げていきます。
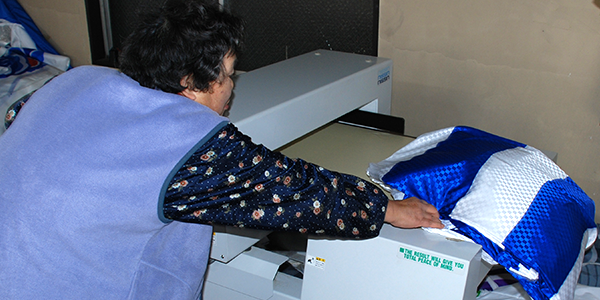
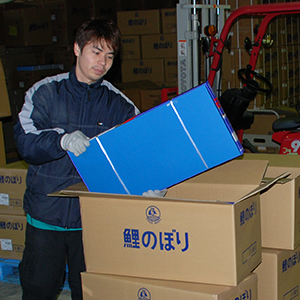
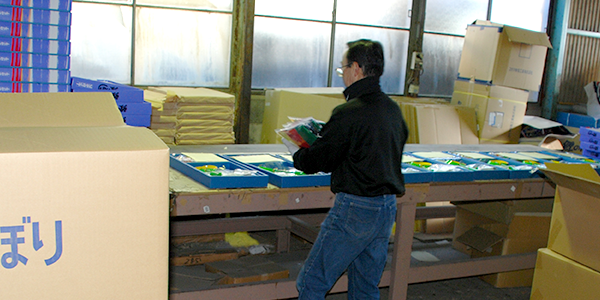
5. 包装・検針機
鯉を畳んで袋に入れていきます。検針機にも2回通して品質確認に努めます。
6. 名入れ
お子様の名前や家紋を吹流にいれます。
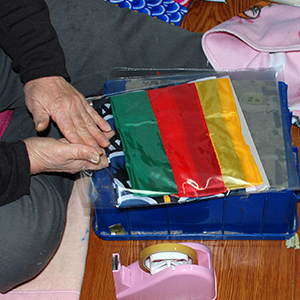
7. セット組み
製品となるように部品とセットします。